Monthly Archives: August 2016
Editing Workflow Review | September Blue Photography | For Photographers
So this week I had the opportunity to check out a premium Lightroom Workflow developed by SleekLens. I tested out their Strike A Pose Portrait Workflow aimed at making editing portraits faster and easier.
The package consists of whole slew of Lightroom Presets – everything from “one click and done” type presets to stackable, targeted editing presets. Also included are tons of Lightroom Brushes that further let you tweak and customize your portrait editing workflow.
While the All-in-One presets are great for inspiring new looks for your images and playing with different editing styles – some dramatic, some more subtle – for the photographer that prefers more control and gravitates toward hand editing like me, the stackable presets are the way to go. You can tweak an image step by step working within the well-defined categories of editing that coincide with the appropriate Lightroom modules. For example, “Base” presets will affect the basic setting of your image such as exposure and contrast – corresponding to the “Basic” module in Lightroom. You can then stack your presets and basically create your own recipe for your editing style.
You can then further tweak individual images with the well-thought out Lightroom brushes designed to address common needs in a portrait workflow such as skin softening, teeth whitening and so on.
To sum it up, I would highly recommend trying these presets out especially for those new to LR and presets… you’ll learn a lot about the power of LR and get inspired when editing your own images. For the seasoned pro who is already settled into their LR workflow, you might be surprised to find that many of the aspects of your workflow that you have not yet taken the time to automate, are done for you here in this workflow and are still very configurable to your tastes. And the All-in-Ones sure are fun to play with! Check out the Strike A Pose Workflow and all their PS actions for photographers.
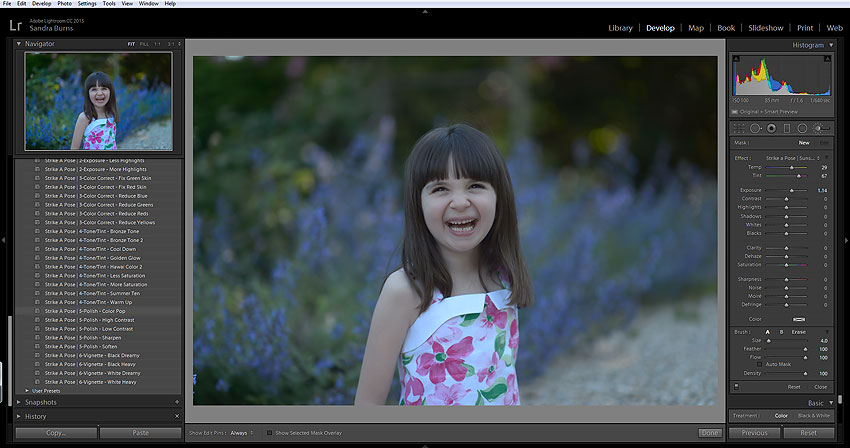
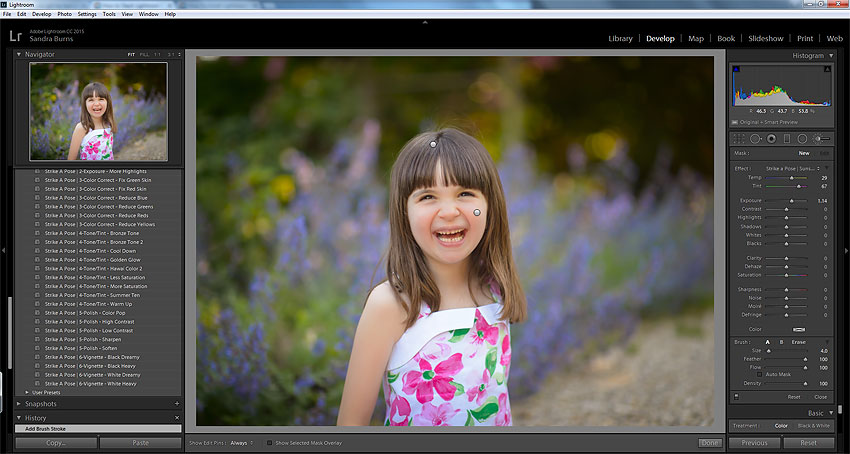
Sample edit shown below. For this edit I used Summer Ten for toning, Color Pop for polish, and the Black Dreamy vignette. Then a tap of the Soften Skin Brush and Define Dark Hair brushes to finish.
Check out these presets and more HERE

